
HOLIDAY CRAFT: CONE TREES

In this post I’m sharing with you the forest of custom, handmade cone trees that I have decorated my mantle with this year. Making these trees was surprisingly simple and when grouping a number of them together in various tones and textures, you can create a scene all your own! Here’s more about the project and how I made them.
This year, I have been especially intrigued by watching all of the fun craft posts and reels on Instagram… beginning with Halloween and moving full force into Christmas time. There really are some creative ladies out there, doing their thing!
One of the craft ideas that caught my eye was to create cone Christmas trees! I absolutely love decorating my mantle and have collected a number of trees over the years… but the concept of crafting my own - with the freedom to select my own colour palette, materials, and textures was very intriguing. When I came across Styrofoam cones at the dollar store for only two dollars each, I knew just what I had to do!


Let’s Begin!
Choosing your materials. One really could have a ball selecting the material to build the trees with… But I had fun with the challenge of keeping it somewhat budget friendly. My daughter and I went to the fabric store and specifically looked for lower priced materials and dug through the bin of remnants, which are the ends of bolts of fabric that didn’t sell at a very reduced price.
Fabric. I ended up choosing a variety of fabrics including a plush white, a sequins white, a sequins pink, a pink crushed velvet, and a fun fluffy trim.
The Styrofoam cones were only two dollars each at the dollar store. The fabric store also had cones, but they were substantially more expensive there. The cones I bought from the dollar store were all the same size, so I took a serrated knife and sawed off the bottoms of some of them to create trees of various heights. Warning - I never said this was a tidy project to create! So if you’re dreaming of a White Christmas, this is one way that you will get a dusting of white styrofoam snow lol!
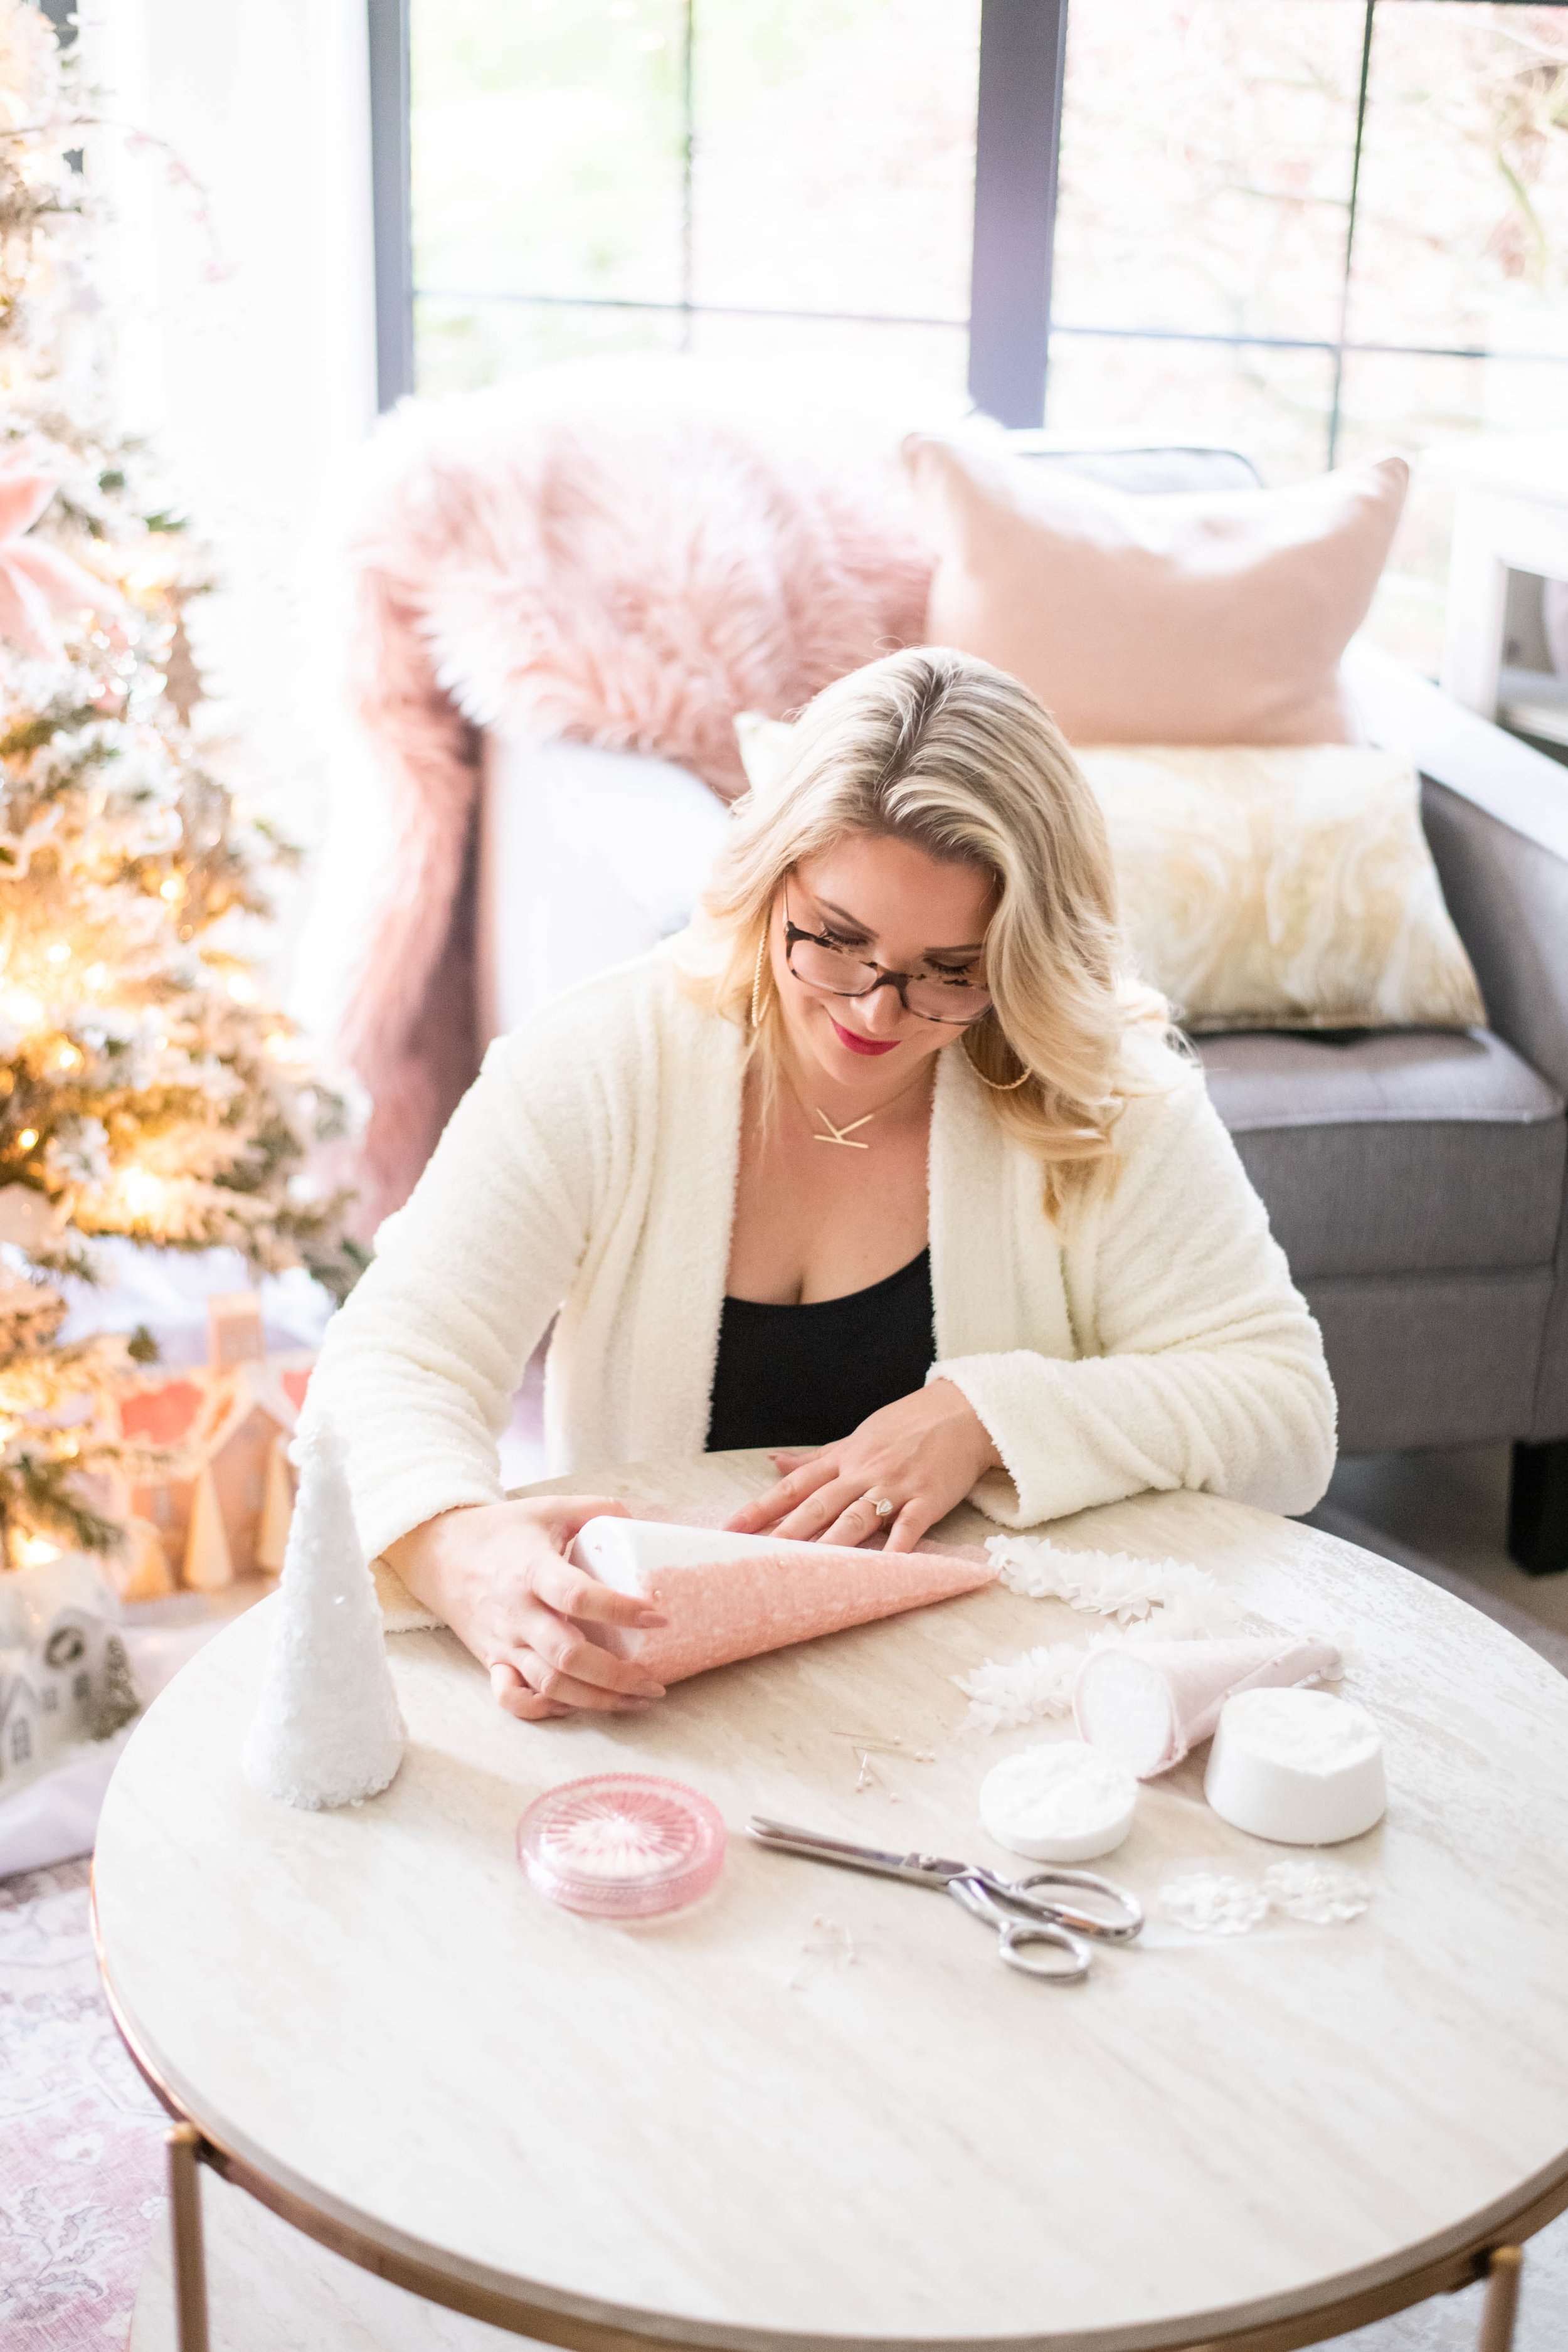
Cutting the Fabric. I’m not including a pattern, nor did I use one as each cone was a different height and each material (with different amounts of stretch) needed its own helping of finesse. What I did was lay the cone and turn it on it’s point to cut out a rough shape to dress it in. The shape you will cut will be triangular with a rounded bottom. For some materials you may want to overlap the ends more than others.

Pins. Since I have had craft projects go south when using a glue gun with Styrofoam, I opted to use pins instead and I’m glad I did. I found a beautiful pack of pins with pink pearl heads… And I found the pins to be helpful as I was able to pin material in place as I wrapped, but could remove and edit placement as I needed. The pins also add a pretty detail to the cones… You may want to add additional pins placed around the tree to create the look of ornaments.
Best of all, because the material is pinned, I can change up fabric in years to come.

You are only limited by your imagination with how you decorate your trees… and then how you choose to display them. I wanted to add even more variation in height and interest… So you’ll see that I added two blush pink pedestal cake stands on the ends that I created many scenes with these adorable sparkling beaded polar bears, cotton snow, and a few pearl beaded sprigs.
To add more cosy interest, I nestled in a variety of different candles. Some of the candles that had lids, the lids made for pretty pedestals to sit combs on. I also added some sparkling 3-D star ornaments. This is the final look.

To see it come to life and watch me create a tree, click the button above to see the real on my Instagram account.
If you make this project, I’d love to see how it turns out… Make sure to tag me on Instagram.
Wishing you a beautiful and happy holiday season!Wishing you a beautiful and happy holiday season!